
Laser Cut Part Accuracy: A Practical Quality Control Guide
By Brad Cairns
Published Updated
A machine's positioning specification describes what the axes can repeat under controlled conditions. It is not the tolerance you will hold on a finished part, and treating the two as the same number is a way a quality plan can run into trouble after production starts. The gap between them is made up of material behavior, fixturing, process settings, and the condition of consumables — all things a quality plan can and should account for directly.
The specification is not the part
A published positioning or repeatability figure describes the motion system moving to a programmed point under test conditions. What ends up on the part also depends on where heat went during the cut, how flat the material was to begin with, how it was supported and released from the surrounding sheet, and how well the kerf was compensated for. None of that is captured by an axis positioning number. When a supplier or an internal cell quotes a tolerance capability, ask specifically what conditions that number assumes — material, thickness, part geometry, and measurement method — rather than accepting the machine's positioning spec as a stand-in for it. For the positioning specification of a specific Mekotek model, consult that model's own specification page rather than a generic figure; see our laser cutting machines overview to find the relevant family.
What actually drives part-level variation
Thermal input and distortion. Heat from the cutting process moves through the part and the surrounding sheet. On thinner material or tightly nested parts, that heat can cause enough local distortion to move a feature outside tolerance even though the cutting path itself was followed correctly.
Material flatness and internal stress. Sheet stock carries residual stress from rolling and processing. Cutting releases some of that stress unevenly, particularly on parts with asymmetric geometry, and a part can move slightly after it is separated from the sheet even if it measured correctly the instant it was cut.
Clamping and support. How the sheet is held and what it rests on during the cut affects whether it stays flat and in position, especially on larger sheets or thinner gauges that can sag between slats.
Nesting order and part release. The sequence in which parts are cut and released from the sheet changes what support remains around a given part as the nest progresses. A part cut early with full surrounding material behaves differently from one cut last against an already-perforated sheet.
Kerf and offset compensation. The kerf width the machine cuts is not zero, and the compensation value applied has to match the current nozzle, gas, and parameter combination. A compensation value inherited from a different setup will produce a consistent but wrong offset.
Focus and nozzle condition. The same consumable condition issues that drive cut-quality defects — see our troubleshooting guide — also shift dimensional results, sometimes without an obviously visible defect on the edge.
Table and slat wear. Worn or damaged slats change support and standoff, which can introduce dimensional drift that looks like a process problem but is actually a fixturing one.
Setting up first-article inspection
A first-article check exists to catch a setup problem before it propagates through a full nest or a full run, not to be a formality signed off without measurement. For each new job or each time a parameter set, material lot, or nozzle changes, define in advance: which features get measured, against which datums, with which method, and what the pass/fail criteria are. Measure the first part off the machine before releasing the rest of the nest, and hold the part and its record if the job runs across multiple shifts or is revisited later — a documented first article is what lets you show a customer, or show yourself, what the process looked like at the start of a run.
In-process checks
Between first article and the end of a run, periodic in-process checks catch drift that a first article alone will miss — consumable wear progressing through a long run, or material lot variation partway through a coil. How often to check should be set by the process's own demonstrated stability: a job with a track record of holding tight to the first article can be checked less frequently than a new job or a job on a material combination you have not run before. Define the check frequency deliberately rather than defaulting to "check if something looks wrong."
Measurement method and gauge choice
Match the gauge to the feature and the tolerance, not the other way around. A caliper is adequate for many dimensions but will not resolve flatness, hole position relative to a datum scheme, or profile on a complex edge. For features that matter to how the part assembles downstream, a coordinate measuring machine or optical comparator may be justified; for straightforward dimensional checks on simple geometry, it may not be. Whatever method is chosen, use the same method and the same datum scheme for first-article and in-process checks on a given job — comparing a caliper reading to a CMM reading from a different point in the run will make normal measurement variation look like process drift.
What to record so drift is visible
Record enough that a trend is visible before it becomes a nonconformance: the measured value, the datum used, the date and shift, the material lot, and the consumable state at time of measurement where that is practical to note. A record that only stores pass/fail loses the information that would have shown a dimension creeping toward the tolerance limit over several jobs. Reviewing that trend periodically — not just reacting to an out-of-spec part — is what turns inspection data into a maintenance or process signal instead of a pile of paperwork.
Defining acceptance criteria with the downstream operation in mind
A tolerance that is tighter than the downstream operation needs adds cost and rework without adding value; a tolerance looser than what the downstream operation needs creates fit and assembly problems that show up later and cost more to fix than they would have at the laser. Set acceptance criteria by working backward from what the next operation — forming, welding, assembly — actually requires, not from a default "as tight as the machine can hold." Where a feature does not affect fit, function, or a downstream process, say so explicitly in the drawing or work instruction rather than leaving every dimension implicitly critical.
Specifying tolerance so a supplier or cell can actually meet it
A tolerance callout is only useful if it specifies the conditions under which it applies: which datum scheme, on which material and thickness, measured by which method, and whether it applies before or after any secondary operation like deburring or forming. A drawing that states a tolerance without those conditions leaves the supplier or the internal cell to guess at the intent, and a dispute over a "failed" part is often really a dispute over which of those unstated conditions each side assumed. Writing the conditions down at the same time as the number is what makes the tolerance something a supplier can actually quote against and meet, rather than a figure to negotiate after the fact.
Calibration and reference standards
Any gauge used for first-article or in-process checks is only as good as its own calibration. Keep a calibration schedule for calipers, height gauges, or CMM probes that is independent of the laser's own maintenance schedule, and store calibration records alongside the part measurement records they support. If a dimensional dispute arises later, the first question worth answering is whether the measuring equipment itself was in calibration at the time the part was checked — a question that is easy to answer if the record exists and impossible to answer if it does not.
Distinguishing a process problem from a measurement problem
When a part measures out of tolerance, resist the instinct to immediately adjust the process. Re-measure with a second gauge or a second operator first, using the same datum scheme. A result that changes between measurements points to a measurement or fixturing issue at the inspection station itself, not necessarily a cutting problem — and adjusting cutting parameters in response to a measurement artifact will introduce real drift where none existed before.
A first-article inspection procedure worth writing down
A usable first-article procedure specifies each of the following in advance, not at the moment the part comes off the machine:
- Which features are measured. Chosen against what the downstream operation needs, not every dimension on the drawing by default.
- Which datum scheme applies. The same scheme used on the drawing and on every subsequent in-process check for that job.
- Which method and gauge measure each feature. Matched to the feature — a caliper for simple linear dimensions, a CMM or optical comparator for profile, hole position relative to a datum, or flatness.
- What the pass/fail criteria are, stated as a number against the drawing tolerance, not as a judgment call made at the inspection station.
- Who signs off, and what happens next — release the nest, hold for a second opinion, or stop and route to the quality owner — for each of the possible outcomes.
- What gets recorded and retained, and for how long, so the first article for a given job can be produced again if a dispute arises later.
Decision criteria: when to escalate beyond first-article and in-process checks
Not every out-of-tolerance result needs a full process investigation, but some patterns should trigger one automatically rather than being handled case by case:
- A single part fails, then a re-measurement on a second gauge or by a second operator confirms it is genuinely out of tolerance. Treat this as a process signal, not a measurement artifact, and check the process variables in the earlier section before running more of the nest.
- A dimension trends toward the tolerance limit across several consecutive jobs without yet failing. This is exactly what a trend record is for — investigate consumable condition and material lot before the trend crosses into nonconformance rather than after.
- A result fails on one gauge but passes on another, with the same datum scheme. This points to a calibration or gauge-selection problem at the inspection station, not a cutting problem, and should be resolved there before any process adjustment is made.
- A result fails after a documented parameter, material, or nozzle change. Reconcile the compensation values and settings against the new setup specifically, since a value carried over from the previous configuration is a frequent cause here.
See the machines behind the article
Browse the full Mekotek product brochure, or book a live demo and watch a Mekotek fiber laser cut your own material.
Related Articles
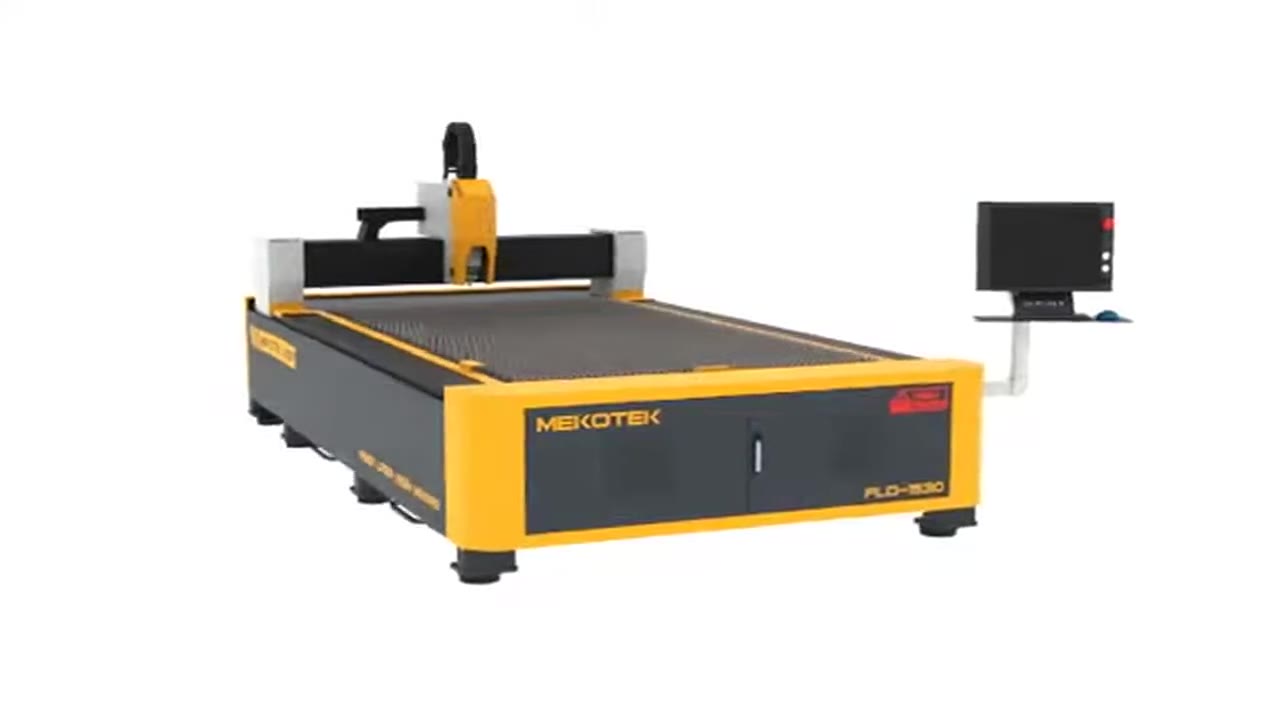
Laser Cutting Workflow: Measuring and Removing the Real Bottleneck
Cutting speed is one of seven places the hours go. A simple way to measure your own workflow and find which stage is actually limiting output.
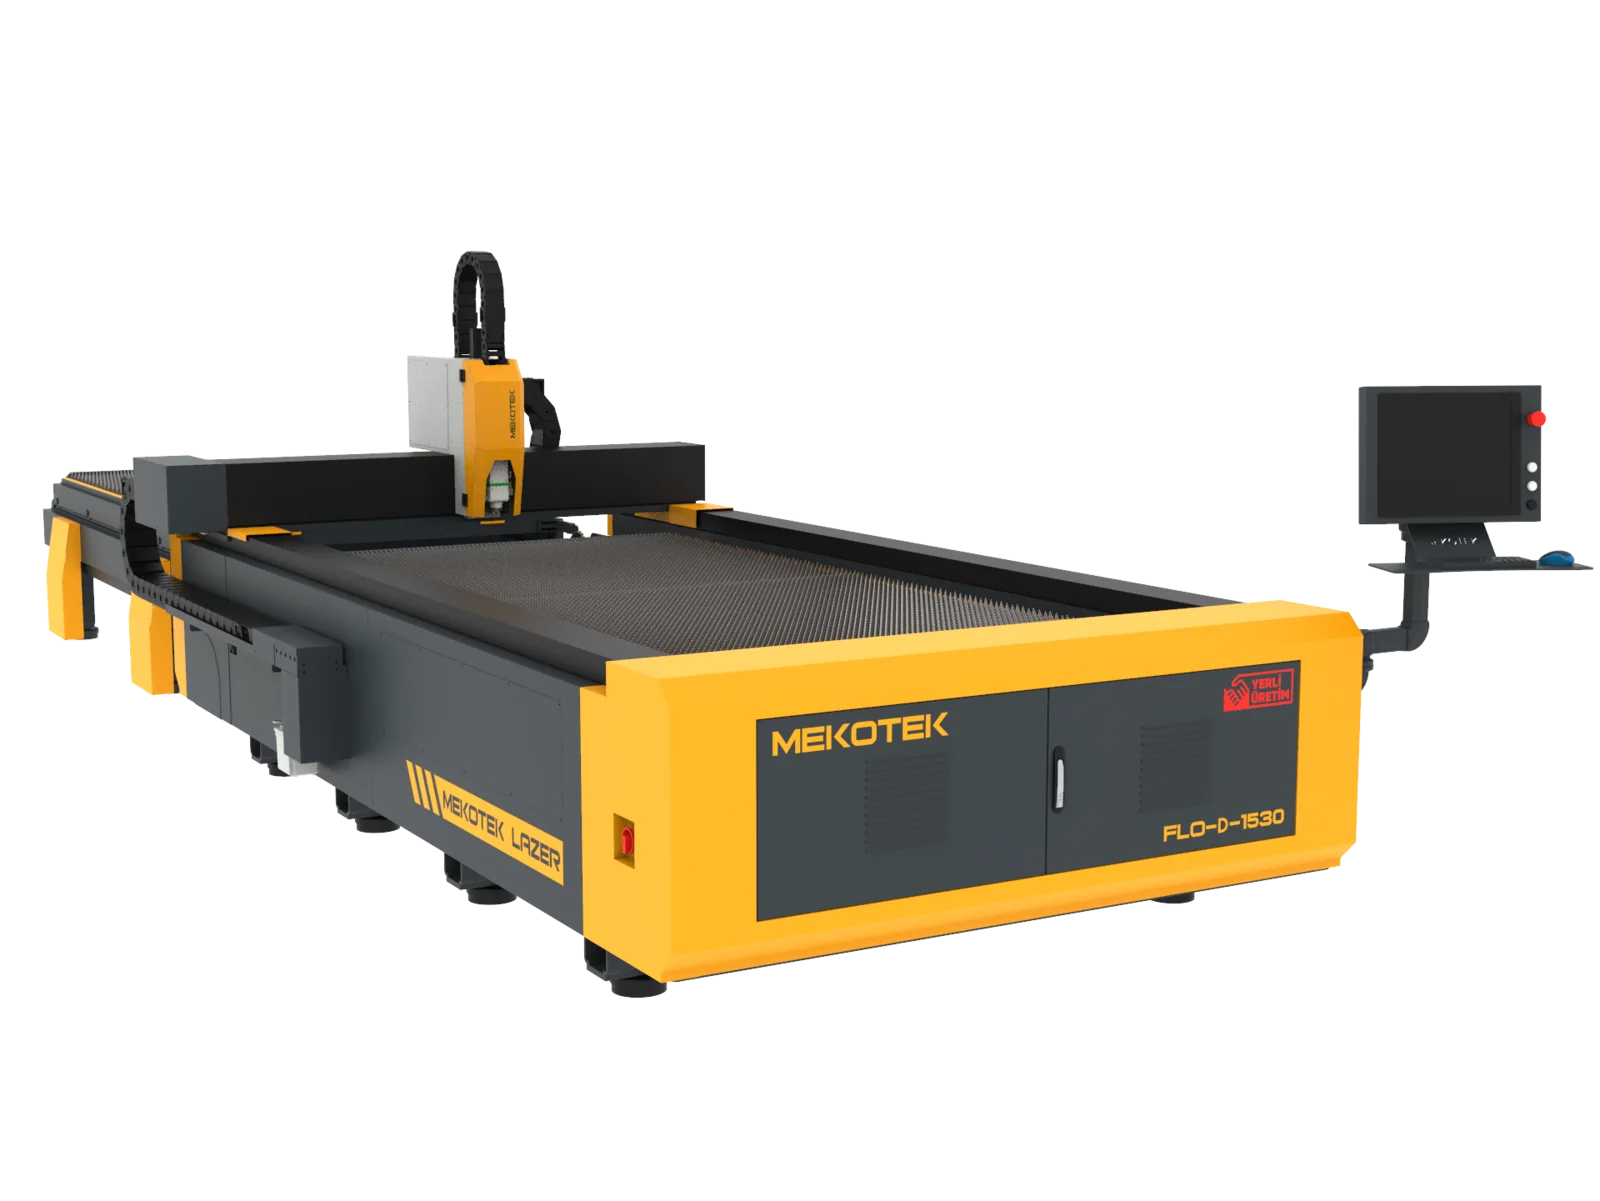
Scaling Laser Cutting Capacity: Where Automation Actually Helps
A second machine is the most expensive way to add capacity, not the first. Here is the order to work through before spending capital, and what each step costs in discipline.