
Laser Cutting Troubleshooting and Maintenance Guide
By Brad Cairns
Published Updated
A cut that came out wrong this morning and a machine that is due for attention next month are really the same subject: both come down to whether the beam path, the assist gas, and the material in front of the nozzle are in the condition the parameters assume. This guide covers both. The first half works from the defect on the part back to the cause. The second half sets out a maintenance routine organized by who is responsible for the check, because the correct interval for any given check belongs to the machine's own manual, not to an article written for machines in general.
How to use the diagnosis section
Work through checks in the order given for each symptom, and change one variable at a time before re-cutting the same test coupon. If you change gas pressure, focus, and a consumable together, a fix will not tell you what actually mattered, and the next time the symptom appears you will be back to guessing. Keep a short log of what was checked, what was changed, and what the result was — even a page in a shop notebook is enough to stop the same fault being re-diagnosed from zero every time a different person hits it.
Dross on the underside of the cut
Dross is re-solidified melt that assist gas failed to fully expel from the kerf. Check in this order:
- Assist gas purity and pressure at the nozzle, not just at the regulator. A pressure drop across a partially blocked filter or a kinked line can show correct pressure upstream and starved flow at the cut.
- Nozzle condition and centring. A worn, pitted, or off-centre nozzle disrupts the gas cone and lets melt settle instead of blow through.
- Focus position. Focus drifting away from the position the parameters were set for changes energy density at the material surface and through its thickness.
- Feed rate and power relative to material thickness and grade. Parameters copied from a similar-looking job on a different heat or coating may not transfer cleanly.
- Material surface condition, including mill scale, oil, or a protective film that was not fully accounted for in the parameter set.
Rough or striated edge
A striated or rippled edge points to instability in the cutting front rather than a single bad consumable.
- Feed rate versus power — an edge that stripes at a regular pitch often tracks a feed rate that has drifted from what the parameter set expects for that thickness and gas combination.
- Focus position and lens condition. A contaminated or damaged protective lens scatters and attenuates the beam unevenly across the spot.
- Nozzle standoff distance and centring.
- Assist gas type and pressure matched to the process (oxygen versus nitrogen versus air) for that material and thickness.
- Material flatness at the cut location — a sheet lifting off the slats changes standoff mid-cut even when the head position is correct.
Burning and heat marks on thin material
Visible discoloration, melted edges, or self-igniting slag on thin gauge material points to excess heat input relative to the material's ability to dissipate it.
- Power and feed rate for the specific thickness, since a parameter set built for one gauge up will run too hot on thinner stock.
- Focus position, which has more effect on thin material because the depth of field is a larger fraction of the material thickness.
- Assist gas choice — an oxidizing gas selected for a heavier cutting process will burn thin material even at correct power.
- Pierce settings and lead-in strategy, since a pierce built for thicker stock can overheat a small part before the cutting move even starts.
Incomplete pierce or lost cut
When the beam fails to pierce or the cut breaks off partway through:
- Nozzle and lens condition — a coated lens attenuates power below what the pierce parameter assumes.
- Focus position at the pierce point, since pierce and cut often use different focus offsets.
- Assist gas pressure and purity, particularly oxygen purity for oxide-assisted piercing of thicker material.
- Material grade and surface condition, including mill scale or coating thickness that varies from the coil or sheet the parameter set was proven on.
- Power delivery, checked against the machine's own diagnostics rather than assumed.
Taper and out-of-square edge
Taper — the edge leaning off perpendicular through the material thickness — is largely a focus and gas problem, occasionally a mechanical one.
- Focus position — check this first, since it affects both taper direction and magnitude.
- Nozzle centring, since an off-centre gas cone cuts unevenly across the kerf width.
- Assist gas pressure, too low or too high for the thickness and process.
- Beam and optics alignment, which is a service-level check rather than an operator adjustment on many machine designs; confirm which category applies to yours in its documentation.
- Table and slat flatness, since a part that is not sitting flat is being cut at a compound angle regardless of how well the head is set up.
Part position and dimensional drift
Parts that are individually clean but drift in position or size across a nest or across a shift point to something upstream of the cut quality itself.
- Material flatness and clamping, since a sheet that moves during cutting shifts every downstream feature.
- Nesting and part-release order, since parts cut late in a nest can shift once surrounding material is removed.
- Slat condition, since damaged or fallen slats change support under the sheet.
- Table flatness, checked against the machine's own reference procedure.
- Kerf and offset compensation values, confirmed against the current nozzle and parameter set rather than a value carried over from a different job.
Head collision
A head strike is a stop-and-investigate event, not a restart-and-continue one.
- Material flatness and clamping — check this first, since a lifted sheet corner or curled offcut is a direct mechanical cause.
- Slat condition and table debris, including built-up dross that raises the effective table height.
- Nesting clearance and part sequencing, since a released part can tip or lift into the head path.
- Height-sensing function, verified against the machine's own diagnostic and calibration procedure before resuming production.
Do not simply re-run the job after a collision without confirming the head and optics are undamaged. A collision that bent a nozzle or shifted a lens will produce cut-quality symptoms on the very next part that look unrelated to the collision itself.
Inconsistent results across the table
Good cuts in one zone of the table and poor cuts in another, with parameters unchanged, point to something physically uneven rather than a parameter problem.
- Slat condition across the table, since worn or missing slats change standoff distance zone by zone.
- Table flatness, checked at multiple points, not just where the last job ran.
- Assist gas supply consistency, including line pressure drop at extremes of travel on larger tables.
- Beam delivery consistency, which on some architectures varies slightly with head position and is a service-level check.
Defect and cause reference
| Symptom | Check first | Check second | Check third |
|---|---|---|---|
| Dross on underside | Gas pressure at nozzle | Nozzle condition/centring | Focus position |
| Rough/striated edge | Feed rate vs. power | Lens condition | Material flatness |
| Burning on thin material | Power/feed for thickness | Focus position | Gas selection |
| Incomplete pierce | Lens/nozzle condition | Focus at pierce point | Gas purity |
| Taper | Focus position | Nozzle centring | Gas pressure |
| Position/dimensional drift | Material clamping | Nesting/release order | Slat condition |
| Head collision | Material flatness | Slat/table debris | Height sensing |
| Inconsistent across table | Slat condition | Table flatness | Gas supply consistency |
This table is a starting sequence, not a substitute for the machine's own service manual when a check comes back abnormal.
Preventive maintenance by owner
Preventive maintenance keeps the causes above from happening in the first place. The intervals below are deliberately not stated in hours or days: the machine manufacturer sets those based on the specific optics, motion system, and gas delivery design, and the correct source for an interval is the maintenance schedule in your machine's documentation, not a generic article. What is consistent across machines is who should own each category of check.
Operator, at the start and during a shift. Visual check of the nozzle for damage or spatter buildup, a look at the protective lens for visible contamination, confirmation that assist gas pressure reads normal on the gauge, a check of slats in the active cutting zone for damage or heavy debris, and a first-part check against the drawing before letting a nest run unattended. These are checks that take a couple of minutes and catch the failure modes that show up part to part.
Weekly, by whoever is assigned consumable ownership. A closer inspection of the protective lens and nozzle beyond the daily visual check, a check of gas supply purity and filter condition where the machine's documentation specifies it, a look at overall slat condition and table cleanliness beyond the active zone, and a review of any recurring defects logged during the week that did not resolve with the standard checks above. If the same symptom recurs after the standard fix, that is a signal to plan a service item rather than keep re-treating the symptom.
Planned service, on the schedule the manufacturer's documentation sets. This is where beam alignment checks, motion system inspection, and any component replacement schedule belongs. It should be planned into the schedule as downtime, not discovered as an emergency when a part run fails. Keep the service record itself — date, what was checked, what was found, what was replaced — because it is the record that tells you whether a recurring defect correlates with a specific service interval slipping.
Measuring consumable cost per part
Rather than trying to justify an interval against an assumed lifespan, it is more useful to track what each consumable category is actually costing per part or per hour of cutting. For a given consumable — nozzles, lenses, or gas — record the unit cost, the number of parts or hours it lasted before it was changed for cause (not on a guessed schedule), and divide. Tracking this over a few change cycles gives you a real number for your material mix, gas choice, and duty cycle, and it will tell you two useful things: whether a change in consumable life correlates with a change in material supplier or gas quality, and whether a consumable is being changed early out of habit or late because a defect went unnoticed. That number is also the basis for deciding whether to hold more consumable stock or renegotiate a supply arrangement — a decision that should be made from your own data, not from a vendor's stated typical life.
When to stop and call for support
If the standard checks for a symptom come back clean — consumables good, focus verified, gas supply normal, material confirmed — and the defect persists, that is the point to stop adjusting parameters by trial and error and open a service case with documentation of what was checked. Continuing to change unrelated parameters at that point tends to compound the problem rather than solve it, and it erases the information a technician would otherwise use to diagnose it quickly. If you are still building out your maintenance documentation, our laser cutting machines pages link to the model-specific resources, and you can contact us with a specific symptom history if you want a second opinion before scheduling a service visit.
See the machines behind the article
Browse the full Mekotek product brochure, or book a live demo and watch a Mekotek fiber laser cut your own material.
Related Articles
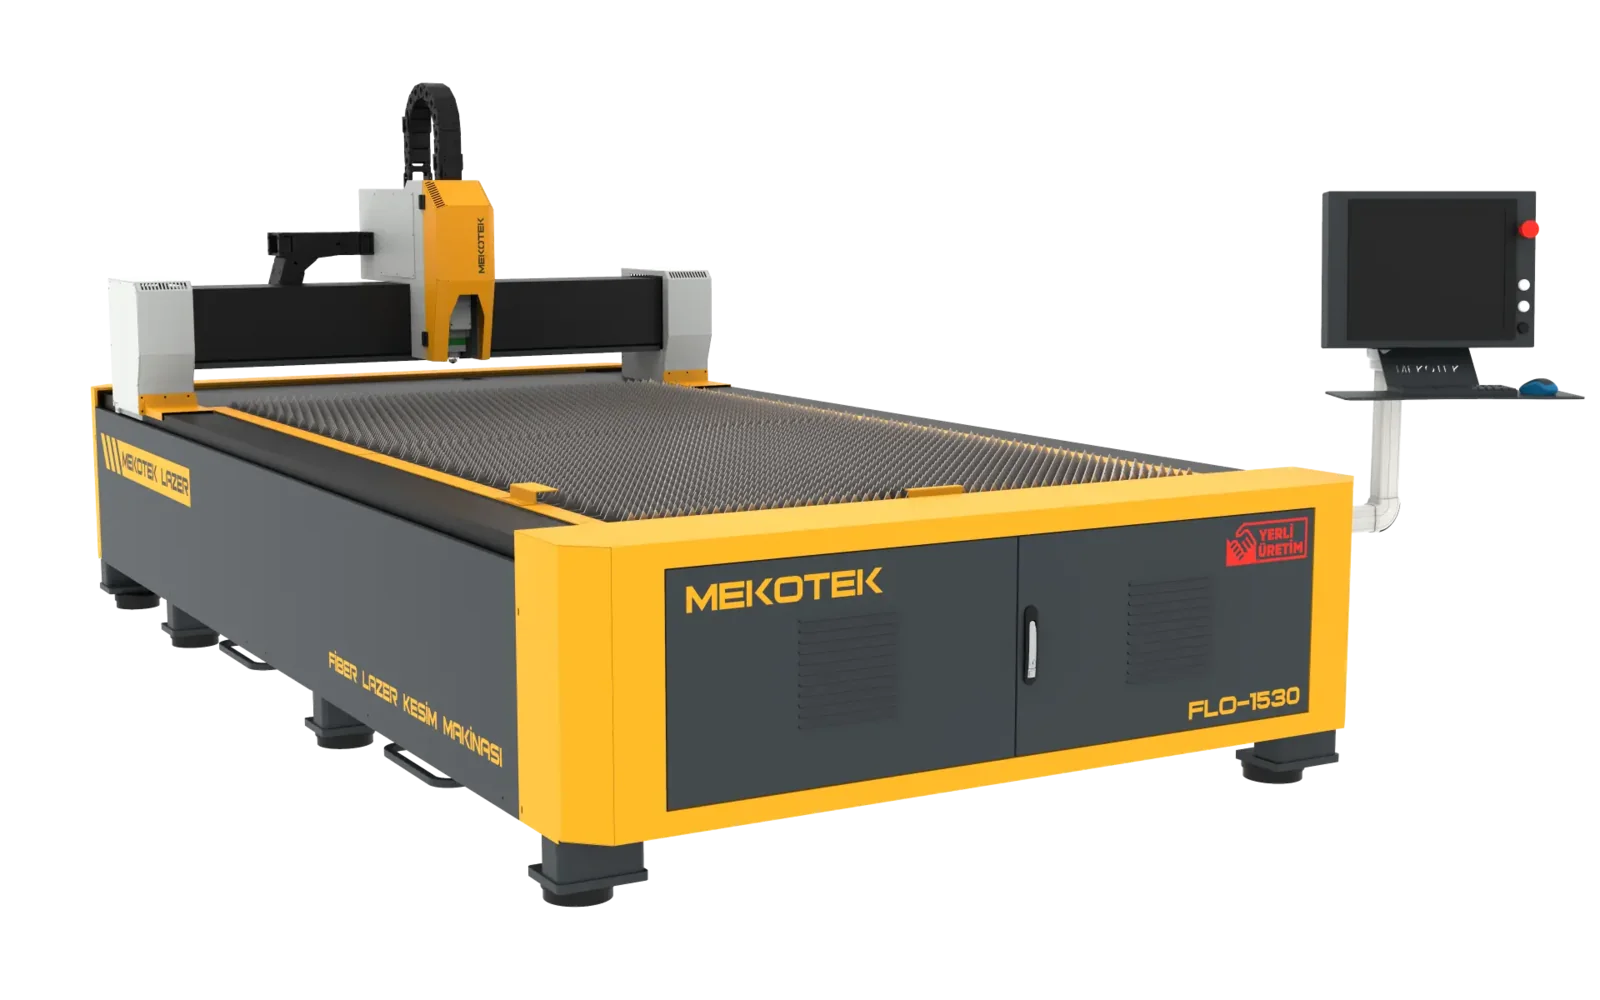
Laser Cutting Team Readiness: Roles, SOPs and Operator Training
Who needs to own what before a laser runs production, the SOPs worth writing down first, and how to sign off and record operator competency.
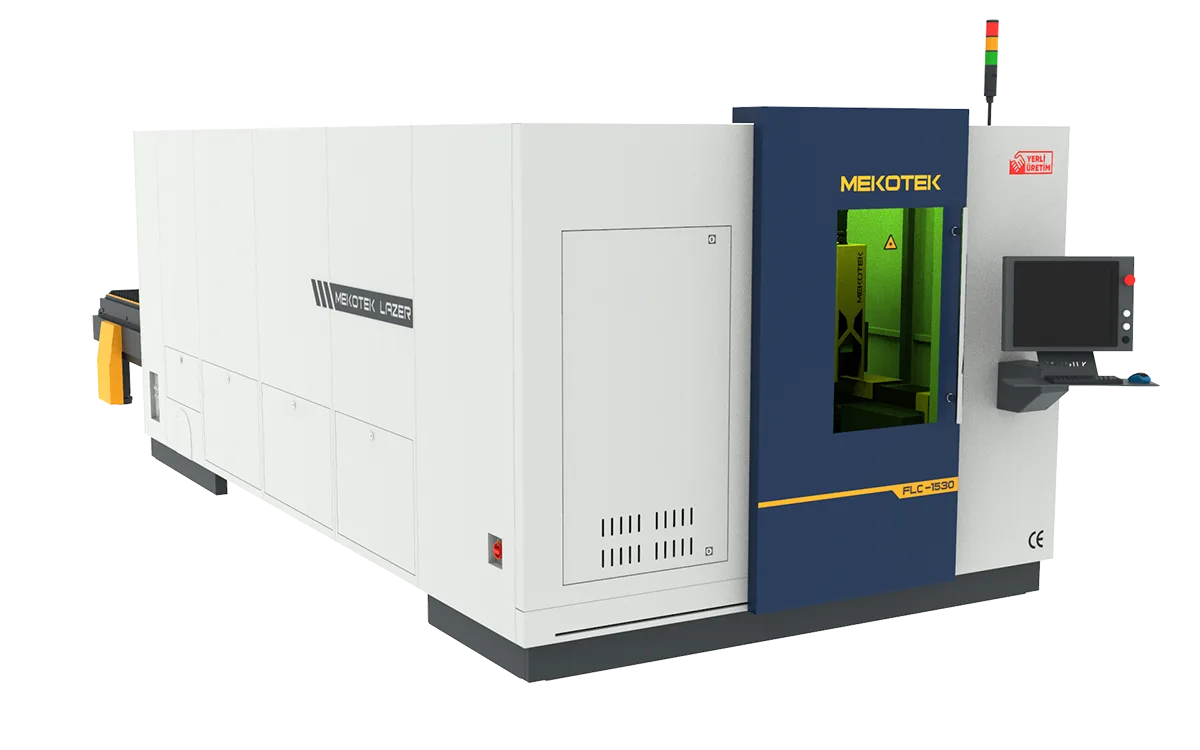
Laser Cutting Safety: A Manufacturer's Planning Guide
The safety planning work that belongs to you before a fiber laser arrives — hazard assessment, engineering and administrative controls, PPE, extraction, and records.